What is the best way to sanding wood?
Sanding wood is an essential step in woodworking to smooth surfaces, remove imperfections, and prepare the wood for finishing.
Here’s a guide to help you do it correctly Also For Extra sheplans Get Access To this one time deal
1. Choose the Right Sandpaper Grit
Sandpaper comes in different grits, which represent the coarseness:
– Coarse (40-60 grit): For heavy material removal, like smoothing rough lumber or removing old finishes.
– Medium (80-120 grit): For smoothing surfaces after coarse sanding wood or preparing the wood for finishing.
– Fine (150-180 grit): For final sanding before finishing.
– Very Fine (220+ grit): For ultra-smooth surfaces and between coats of finish.
Before you start Sanding wood don’t forget to make sure your lines is straight.
With
Kreg Straight Edge Tool this is a solid guide that’s used for marking, working and cutting in straight lines.
Tip: Always start with a coarser grit and work your way up to finer grits to achieve a smooth finish.
2. Hand Sanding vs. Power Sanding
– Hand Sanding: Best for small, delicate, or detailed areas. Use a sanding block to keep the surface even and avoid finger marks.
– Power Sanding: Great for larger areas. Use a random orbital sander or belt sander for quicker results. Always move the sander in the direction of the wood grain.
3. Sand with the Grain
Always sand in the direction of the wood grain, not against it. Sanding against the grain can leave visible scratches that will stand out once you apply a finish.
4. Keep the Sandpaper Clean
Sandpaper can get clogged with dust and lose its effectiveness. Clean it by tapping it on a hard surface or using a sandpaper cleaning block. Replace the sandpaper if it becomes too clogged or worn out.
5. Work Gradually Through Grits
Don’t skip too many grits between sandpaper types. For example, if you start with 80 grit, move to 120 or 150, then finish with 180 or 220. This helps to remove scratches left by the coarser grit.
6. Use Consistent Pressure
Apply light and even pressure. Pushing too hard can create uneven surfaces or gouges. Let the sandpaper do the work.
7. Check Your Progress
Wipe away dust with a damp cloth to see how the wood looks as you progress through the sanding process. This also helps raise the wood grain slightly, allowing you to sand it down for a smoother finish.
8. Final Sanding and Finishing
– After your final sanding, wipe the wood clean with a tack cloth or microfiber cloth to remove dust.
– If you’re applying a stain or finish, sand the surface lightly with very fine grit (220+) between coats for the best results.
9. Safety Tips
– Wear a dust mask or respirator to avoid inhaling fine particles.
– Use goggles to protect your eyes from dust.
– Work in a well-ventilated area to reduce exposure to dust and fumes from finishes.
10. Sanding Between Coats of Finish
If you’re finishing the wood with varnish, paint, or stain, lightly sand between coats using fine-grit sandpaper (220+ grit) for a smooth finish.
By following these steps, you can achieve a professional, smooth finish on any wood surface!
Want to learn Sanding Wood Smarter instead of harder Read this article by Chris Marshall

Chris Marshall, Woodworker’s Journal
While I’m sure some will beg to differ, I’ve never met a single woodworker who really enjoys sanding. We all know our project finishes will turn out better if we sand the wood thoroughly beforehand, and their surfaces will be smoother to the touch. But the dust, repetition and effort involved with sanding every single important surface through multiple grits isn’t a picnic. If you agree, Bob Flexner offers a bit of relief in his book, Understanding Wood Finishing.
“There seems to be some mystique that the more you sand, the better the end product will be…(But) once the wood is smooth, the mill marks and other defects are gone, and the sanding scratches are fine enough so they won’t show, there’s no reason to continue sanding. You’re finished. Your goal should be to reach this end with as little work as possible.”
This is a loaded statement — Bob isn’t advising that we cut corners on the process. Rather, the aim is to sand smarter, not harder. Have a plan and stick to it, choose the correct abrasives, and then know when to quit. If you’re in doubt about what that all means, please read his book. It will make you a smarter sander and a better finisher.
![]()
Other Track Saw Solutions

Having looked at some of the practical applications of a track saw, A.J. Hamler explores other uses for the track and ways to simulate having one in your shop.
Design to Cutting List
Follow Ian Kirby’s Critical Woodworking path to learn the essentials of the craft. In this episode, learn how to take your project from the drawing board to cutting boards.
Retro Starburst Clock

Building a Hobby Desk
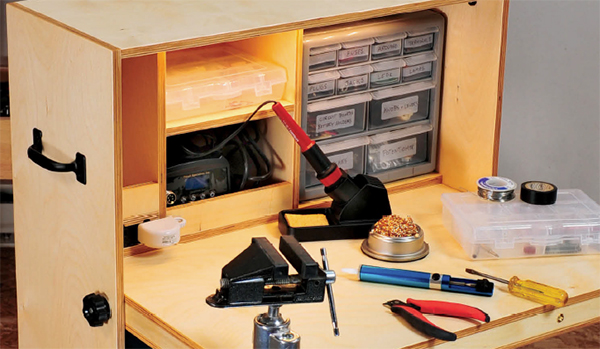
A compact, portable desk with built-in storage and features to make working on your hobbies more convenient and comfortable.
From Our Sponsor


Conclusion
Sanding Wood is a Skill that take practice time and patient to learn